EDSBK is a blog about a small group of sports bike riders, the places we go in search of our ultimate road and the motorbikes we ride..

..Welcome to Everyday Superbikes

Mini DV MD80 / D001 Cam


 Myself and Jon have bought the mini DV D001 Cam from off Ebay. At the time of buying they were £18.50, they can now be picked up for as little is £12, which is less than a tank of fuel. So for that price we weren't expecting anything amazing.
  We have now owned these cameras for over 12 months, and after some recent testing can give a fair review of these little camera's.
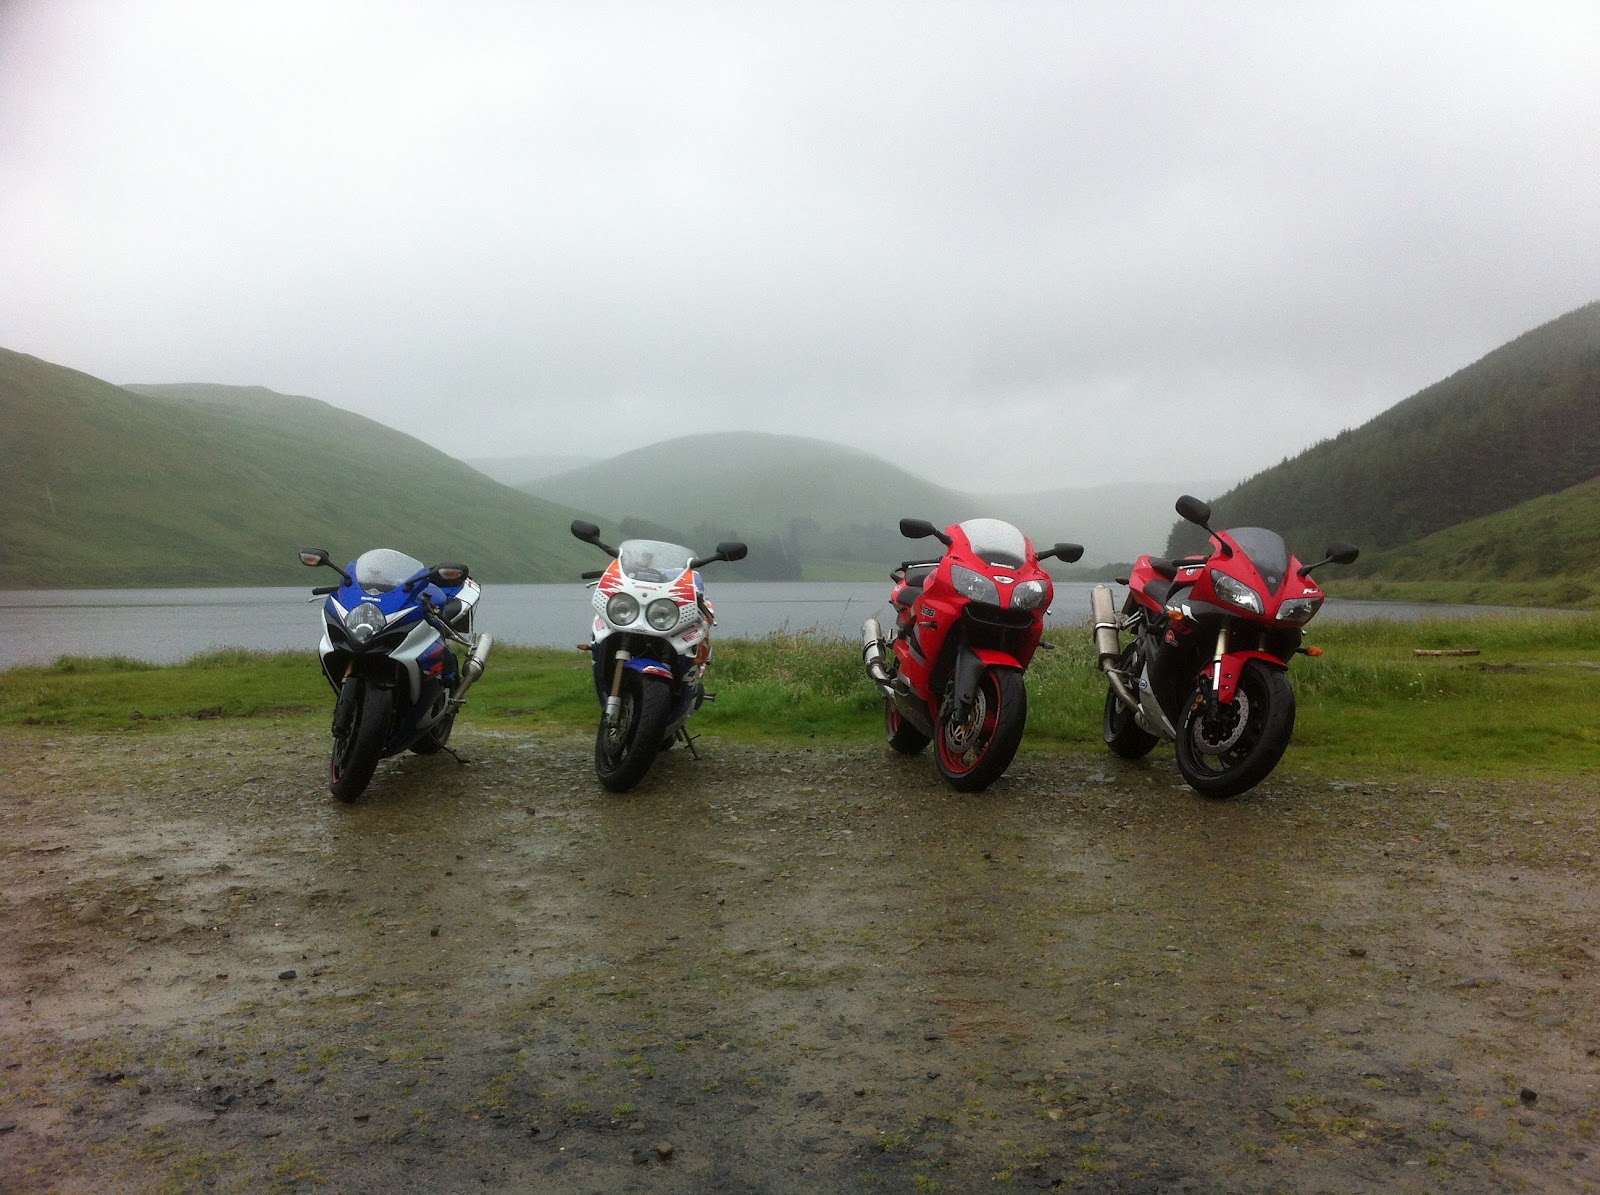
 The purpose for buying these camera's was to attach them to the motorbikes and record some of our favourite roads and the trips away, so that during the cold, dark winter months we can virtually ride some of the best bits and share them with you via our Youtube channel.

Features

The Mini DV/MD80 has a 2 mb High Def camera,
Video records at 30 FPS in 720x480 pixels,
It supports memory cards upto 8 Gig,
There is a hi res camera mode that can shoot up to 2,000,000 pixel images,
It has a fast acting light response lense,
can be used as a web cam,
and has a 2 hour battery life.


 In reality the camera mode is a waste of time as you cant see what your taking the picture of,the 30 FPS is pretty good, 720x480 is almost HD, the fast acting light responsive lense works well,  the battery lasts about 2 hours and my 4G card holds about 50-55 minutes of video.
 When the camera arrives it comes with all the bits to attach it to a computer, a disk with the drivers and files needed, some brackets and instructions which were originally written in Chinese, so makes interesting reading if not any sense.

 In Use

   The first chance I had to try my camera was when we went to Germany and the Nurburgring. I used the brackets included in the kit and clamped it to the handlebars, but didnt have any idea what the camera was looking at as theres no view finder. Also I didnt know what the camera was doing as you cant see the lights when its sunny outside. The 4gb memory card can hold just under an hours worth of film so I saved it to record a lap of the nurburgring, the sudchleife and any other intresting bits we could find. We connected up to a laptop at the hotel only to find I had recorded a lap of the sky, with a few overhanging trees, and Jon had recorded by using a helmet cam idea of his a lap of the tank of the motorbike. Both cameras had wavy lines scrolling up the screen which made the footage unwatchable.  Most dissapointing!
Wobbly vision
 Once back home I tried the camera every time I went out with varying amounts of success  The main issue we were getting from both cameras was wavy lines scrolling up the screen, I found it was caused by the vibrations from the bike. After experimenting with places to mount the camera I discovered that the motorbikes frame hardly vibrates at all, so built a mount out of a piece of plastic tube which fits tightly into a crash bobbin. This has stopped the problem almost completely, only occasionally under high revs do they come back.
The brackets that are included in the kit, are useless for the purpose we need them for, so they went in the bin.

Lower MotoGP style view
 (Date Stamp was hard to adjust)
 After some experimenting we found that videos recorded from a lower position give a better perspective, show some interesting views and feeling of speed. If you watch Motogp they also use some nice on bike camera positions, looking behind across the top of the rear wheel or at how much the front tyres give in the corners, so we want to try out some new ideas and brackets.

 Another issue was the on light and record light could not be seen, so by removing the 4 screws in the sides of the camera and pulling it carefully apart you can see the little led lights. I used a dremil to make a hole big enough to let the light shine out of and put it back together. When riding along now I can see the lights clearly.

 After this Modification and using the bike mount I am pleased to say that I rate this little camera quite highly and have no fear of recommending them as a good buy and good value for money, just be prepared to put some time into experimenting with brackets/mounts.


For and Against

The good things about these camera's are the size, reasonable quality video and they arepretty tough. (We had one fall off a bike at over 70mph, when we went back to collected it it was still recording)
 The problems with these camera's are the poor instructions, the wavy lines, the L.E.D lights are not visable in bright sunlight and the worst thing is the time/date stamp cannot be removed. The newer version of the camera now has a much smaller transparent time/date which is a step in the right direction but totally removal would make for a welcomed option.
However there is ways around all of this:- 
The Instructions - Just go on Youtube and watch some of the how to use the MD80 videos.
The wavy lines - Experiment with positions on the bike that don't vibrate. Plastic fairings, mirrors and mud guards are no good, you need to find something metal for the best results, frame, swingarm or lower part of front forks we find work best.
 The L.E.D lights - Make your own window to view the L.E.D's (see above).
 The Time/Date Tag - Using Windows Live Movie Maker with 3rd party effects such as the increase zoom by 15% mode helps mask the problem as the time and date disappear off the bottom of the screen.     
 To reset the time - You will need to make a file in notepad which you copy onto the camera. There is a demo file on the disk that comes with the camera.
Good Luck with getting that to work! Eventually mine gave the correct time.
Old Camera with Yellow Date Stamp

New Camera with Transparent Date Stamp
To Watch this video click here 
 In conclusion we like it.   4/5

 See our videos on Youtube

Latest Video has the new look time date stamp


 The camera mount video

Suzuki GSXR K8


 This is Carls Suzuki GSXR 1000 K8. The model was released in 2008 having minor changes to the paint scheme from the previous K7 model that Jon owns. Suzuki have always made class leading motorbikes and this is no exception. The engine chucks out 185 BHP and was the first main stream bike to have a power mode switch that lets the rider select between full power, medium for economy and a wet weather mode. Suzuki have fitted twin pipes on their 1000cc model which is different from the other manufacturers who make superbikes. 
Carl has changed the factory exhaust from the standard 2 pipes into a Scorpion, shorter, single sided pipe which gives a much louder roar under acceleration, saves weight and looks great. He has had the suspension lowered as it was a bit to high for him and finds it handles well.


 He has been making some artsy, photoshop pictures and has submitted them to the site for all to see. 


Super Bike Phone Apps

   Over the last 12 months I have been using the Pirelli Diablo Super Biker app for my iphone.
 I am amazed at what it can tell you and at how well it does it.
   Each time we go along our favourite road the A483 I start the app. Now, I don't ever try to beat any times, etc after all its a public road, I just take it as it comes, if conditions permit I'll lean the bike over around the corners and pass slower moving vehicles so the data that gets recorded is only just for my own interest and nothing else. However the App has 2 modes, 1 for road use and one for track use. Now the information provided around a circuit would make for far more interest, especially if you were setting up suspension or trying a new performance parts or doing track days.


Start Screen


 The app records things such as:-
Stock Picture
 Journey Time, Distance, Max speed, Average speed and Maximum lean angle, then laps of the same circuit can be compared. It overlays your route over a photo map so you can see where you have been. This worked great until the recent update to the Apple Iphone IOS which did away with Google Maps replacing it with the far inferior Apple Maps so the map quality has gone and you look at a wobbly red line in a square of blobs, but that's Apples fault not the makers of the App's.
It works all this out from the GPS signal, the accelerometer and the built in gyroscope in the iphone. We have carried out a few test on the system, testing speed distance, max lean with great success and accuracy. 
   Lapping a circuit gives extra data such as allowing you to compare 2 laps to see where you were faster and how much lean angle you applied, and share the data on facebook. Like I'm ever gonna do that!
   Unfortunately the last update has somewhat cocked this info up, it has almost doubled some of the stats. For example, the first time I used it after the update, the app informed me I had travelled over 120 mph and had a lean angle of 65 degrees, impossible I thought, I didn't go anywhere near 3 figure speeds along there. Luckily I have gone back to the previous version (1.4) which is the one that works for me, and the figures when combined with video evidence are within 1 mph and 1 degree so that's good enough for me.

 We use the app for our Ashwood Triangle competition to record the lap times.
 (This will be available in a later post)

To try it for yourself for free Click Here

Eco Challenge

Every year while on our road trip we do an Eco Challenge. This means everytime we fill up with fuel I have to write down how many litres of fuel each of us drew.
 The fuel used ranged from 55.1 MPG to as low as 36.4 MPG over the 6 days.
We all took the same amount of luggage and used the same Oxford Hump Back soft luggage.
 Our trip was 905 miles which included a good mixture of roads and steep hills, a fair bit of stops to take photos, eat, drink, repair and dry off. 400 Miles were on Motorways and the rest A or B class roads.

Loaded

Col on the Honda Fireblade with a 900cc engine recorded the best MPG at 55.1, this is down to the combined weight of the bike and rider being the lightest which gives a good power to weight ratio. He averaged 48MPG over the trip. His average MPG when wearing his waterproofs dropped by 4MPG

Rich with the Kawasaki ZX636 a 600cc machine got 52.7MPG at best and averaged 47.6MPG over the trip.His average MPG when wearing his waterproofs dropped by 1 MPG

Phill with the Yamaha R1 a 1000cc machine got 50.8MPG at best but averaged 45.3MPG over the trip.His average MPG when wearing his waterproofs dropped by 2.5 MPG

Jon on the Suzuki GSXR another 1000cc machine got 48.7MPG and averaged 43.6MPG over the trip.His average MPG when wearing his waterproofs dropped by 3 MPG

Ed is the average of the 4 of us.

 For 3 journeys we were wearing waterproof over suits, which have a lot of loose fitting areas and flapage, when on these journeys the bikes average MPG dropped by 1-4 MPG.

 This year I have scored it in the same method as the Olympics, counting the amount of Golds, Silvers and Bronzes for the 5 catergories below.

  • Average MPG
  • Best MPG
  • Tolerance (The difference between best and worst MPG)
  • Best MPG compared to MCNs figure
  • Difference between biggest and smallest amount of litres bought

 Results 
                                         Gold            Silver        Bronze
Best Average MPG           Col              Rich          Ed
Best MPG                         Col              Rich          Ed
Tolerence                          Ed               Phill           Jon
Better than MCN              Rich             Phill           Ed
Difference between fill ups Col              Ed             Phill


 Col - Honda Fireblade  3x Gold    0x Silver    0 x Bronze
 Rich - Kawasaki 636    1x Gold    2x Silver    0 x Bronze
 Ed - LAW of Average  1x Gold    1x Silver    3 x Bronze
 Phill - Yamaha R1         0x Gold    2x Silver    1 x Bronze
 Jon - Suzuki GSXR       0x Gold    0x Silver    1 x Bronze

2012 EDSBK Road Trip. Part 1 (Moffat)

  We set out on Sunday 8th July headed for Moffat in Scotland, about 50 miles from the border with England. Col arrived first followed by Rich who was already wearing his water proofs and Jon arrived a few minutes later. The sun was trying to make an appearance as we set off and the odd patch of blue sky appeared on the horizon. We stopped for a cuppa and fuel and Rich said he was too hot, so took off his waterproof suit and we headed off. As we approached the climb up Shap in the lakes district the heavens opened and gave us a few minutes of rain, we decided to wear the water proofs until we arrived in Moffat.

The Buccleuch Arms Hotel
The garages
  Moffat is just off the A74 (M) at junction 15.
The Buccleuch Arms Hotel was our destination in Moffat. We were met by the owner David, who showed each of us to our own garage for the bikes, then to our rooms in the hotel. (EDSBK Recommended)
 The following morning we decided over breakfast to follow a route that was recommended by a website called
  Motorcycle Scotland, through Dumfries to Galloway Forest following along the coast roads. After a while we needed a coffee so pulled in at Carsluith Castle over looking the bay towards Wigtown where we stopped and had a look around. We could see the clouds were once again getting dark and heavy so water proofed up in preparation for the next part of the ride.

Along the A712


Carsluith Castle
 We mostly avoided the rain only seeing a few seconds worth just before we reached a town called Newton Stewart, we headed through Galloway Forest along the twisty A712 until we came across Clatteringshaws Loch where we stopped for a few minutes to admire the views. Then we headed towards the village of  New Galloway where we found the A702 and followed it as it again twisted and dipped and climbed its way through the landscape. The route made it into our list of ultimate roads.
 We arrived at Thornhill not seeing any rain from the again threatening skies. Drumlanrig Castle was only a few miles away so we went off route to go and have a look.
Drumlanrig Castle
Clatteringshaws Loch


Once getting back on route (A702) we followed the road up through the valley which was Cols favourite section of road and then the heavens opened and it absolutely threw it down for the last 20 minutes of the ride, we headed back to the Hotel and parked the bikes back under cover and left the water proofs to dry out. Luckily the radiators were on in our rooms so all the wet clothing got dried overnight.

 The next Morning we awoke to more rain, that got heavier as we ate breakfast. We were heading to Kendal after dinner for the 2nd part of our trip, to the Lake District.
  David from the Buccleuch Arms had talked to us about a short route he used that went around an area known locally as The 3 Locks and The Devils Beef Tub, we thought it sounded an interesting route and long enough to give us something to do before heading off to Kendal. We put our now dry clothes on, packed our bags to collect later and set off along the A708 towards St. Mary's Loch and as it rained all the way we stopped at Glen Cafe for a drink.
Glen cafe looking towards Loch of the Lowes
 The rain carried on as we set off along the A708 and took the first road on the left heading towards Meggets Reservoir and Talla Reservoir linking the A708 to the A701. The road was steep, windy,  slippery from the covering of a mixture of sheep dung and slime, had loose gravel, puddles and was flooded in places, not really a sports bike type of road at all, but the scenery was beautiful.
 At the end of the road we turned left onto the A701 and rode through the forest, a winding fast section of tarmac, it felt good to be back on an A class road again, even if it was soaking wet.
The water proofs brigade!

 We had been told that the Devils Beef Tub is so called as it was a place that Scottish cattle rustlers used to bring the cattle from England too. The English used to chase after the cattle to get them back and the Scotts then attacked, killing the English and keeping the cattle. We stopped in a layby and looked down the valley at the Beef Tub and could see how the natural shape of the land played a part working in the favour of the Scotts.
The Devils Beef Tub
 We went back to the Hotel and collected our luggage then set off to Kendal.